STARS Manual > Staff Training Records > Preview Records and Reports >
|
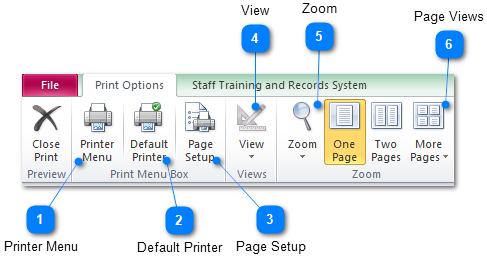
Printer Menu |
|
|
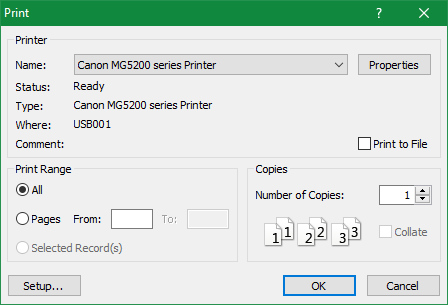
The printer menu will allow you to select the printer to send the report to, for users with PDF, XPS or similar printer drivers these can also be selected from the drop-down menu list. |
|
|
|
|
|
Default Printer |
|
|
The default printer icon is a faster way of sending the report to the default printer as it by-passes the printer options menu shown in option 1. |
|
|
|
|
|
Page Setup |
|
|
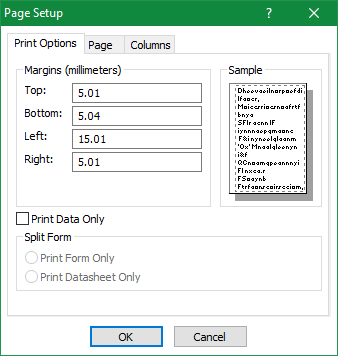
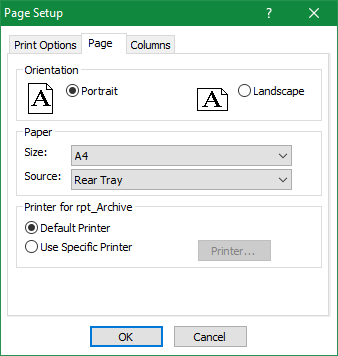
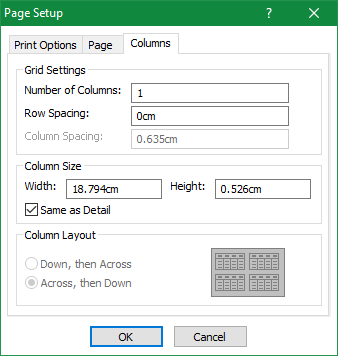
The page set-up allow you to change various page settings such as page size, page layout, page margins, page width and height. |
|
|
|
|
|
View |
|
|
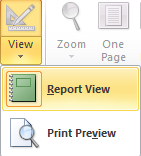
The view icon, for some reports, will allow you to switch between print preview and report view. The difference between the two views is; Print Preview shows how the report will look when printed out, whereas report view shows all the returned records to the screen, as if it were just one long piece of paper showing only a single header and footer. Report view is excellent for viewing reports that would normally spread across several pages. |
|
|
|
Report View Icon
Print Preview Icon
|
|
Zoom |
|
|
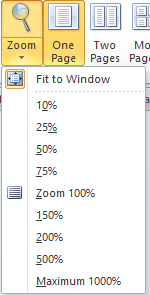
The zoom icon simply allows you to adjust the size of a page in print preview mode, this will allow clear font readability in larger zoom modes and more pages to be displayed in smaller zoom modes. |
|
|
|
|
|
Page Views |
|
|
These icons allow for single page to be displayed (default view), or for larger reports double page (side by side) up to a maximum of 12 pages (small image views). |
|
|
|
|
STARS Support v1.0.00 : STARS - Staff Training and Records System - Website On Safe Lines
onsafelines.com QHSE Software 2024 : Webmaster: Brian Welch


